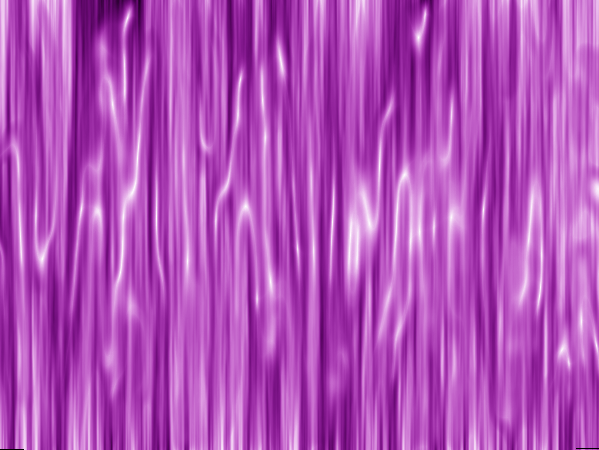
Today I am going to show you how to create silk in Photoshop. Some might think this is a straightforward concept, but it can be difficult to create silk in Photoshop that has nice highlights. Highlights add dimension and make the silk look more natural. I’ll show you how to create silk in Photoshop from scratch and an easy way to add highlights to make it look realistic.
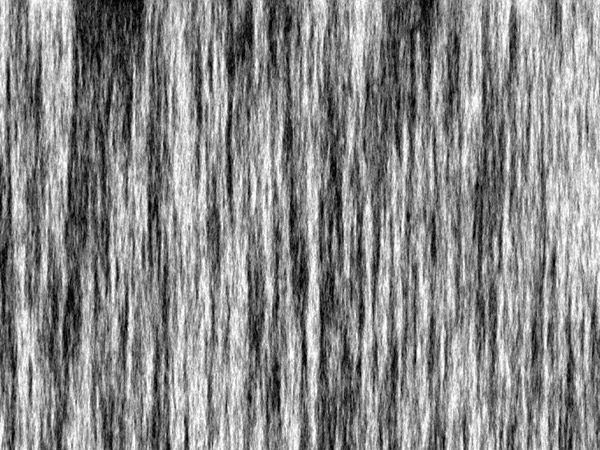
First, create a new Photoshop document. The one I created is 1024px x 768px. With the default black and white colors and your foreground and background colors, go to Filter> Render> Fibers. You can randomize the fibers or create them however you want. just be sure that there is plenty of variation between light and dark.
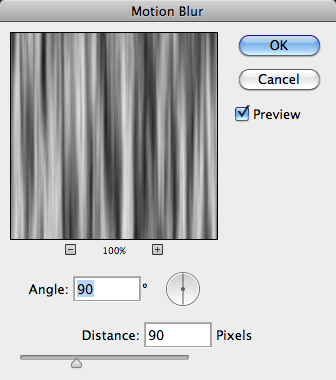
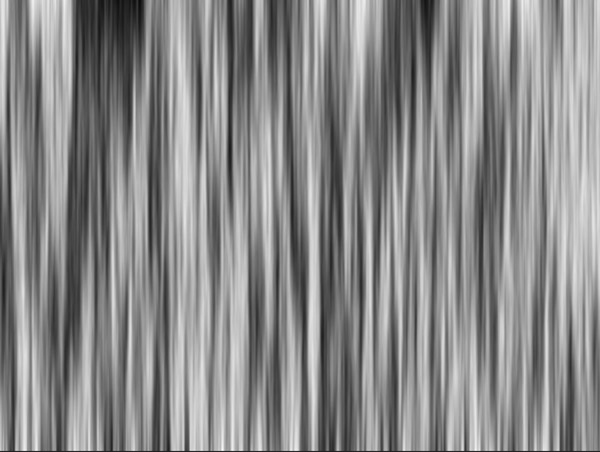
Then go to Blur>Motion Blur and choose 90° as the angle. Set the strength to 90 pixels. If you want the silk to flow in other directions, then you will have to rotate the fibers layer, but don’t forget to change the angle to match it.
Now, this looks decent for fabric with a sheen, but to get the highlights that we see on a silk piece of fabric, we need to add a step. Go to Filter> Filter Gallery> and choose Plastic Wrap. For the settings, change Highlight Strength to 20, lower Detail to 2 or 3 and then bump Smoothness all the way up to 15.
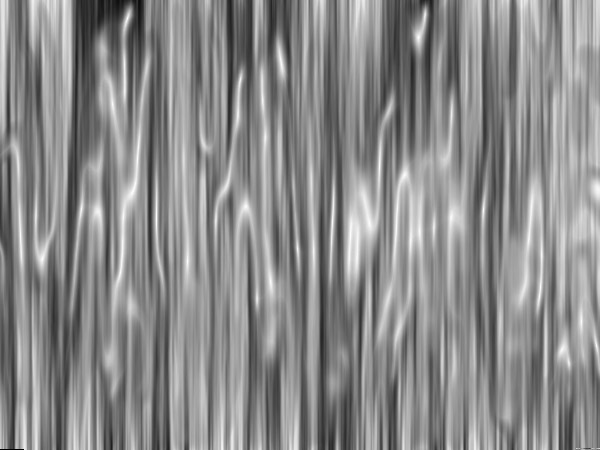
We need to use motion blur again to smooth out the sheen just a little bit, and make it flow with the rest of the fabric. Go to Filter>Blur> Motion Blur and set the distance to around 30px.

Now we can create a new layer, and fill it with any color. I am going to choose a soft pink (#ea00ff). Choose Soft Light as the blend mode.
An Alternate method to create silk in Photoshop that will make the silk have a more natural flow is to repeat the process of alternating the Plastic Wrap Filter and the Motion Blur Filter. In this case though, you will want to increase the motion blur to around 90px strength each time, or you can vary the strength for a more random effect. Below is a sample of smoother, more subtle silk:
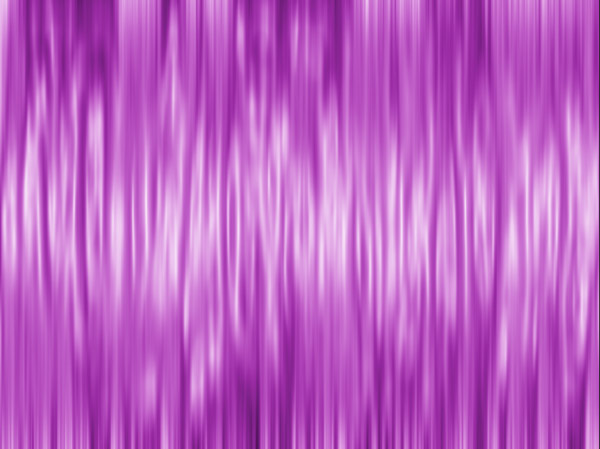
The silk above is more flowing and the wrinkles seem to overlap each other in a more natural way. The highlights and the shadows of the silk are more dimensional and it actually looks like the wrinkles are raised and have a shine on the, while the valleys recede and fall back from view.


